
- Announcements - see: 7. Use FAQs and Announcements
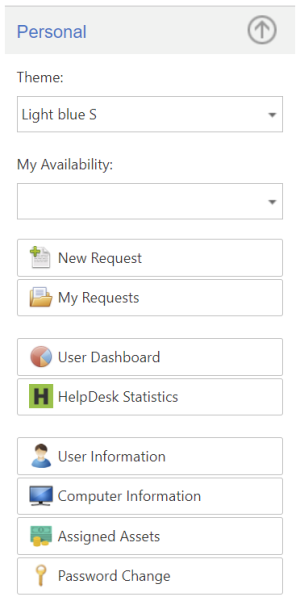
- Links to own requests by status - links to a list of own requests

- List of recent own requests (max. 10)
- Request statistics in graphs by category/status/priority
This guide is intended for regular users of the MagikINFO portal, especially the MagikHELPDESK module. Content:
The main menu or user dashboard is divided into several parts:
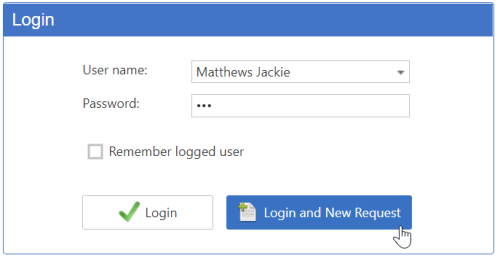
You can make a new request in three ways:
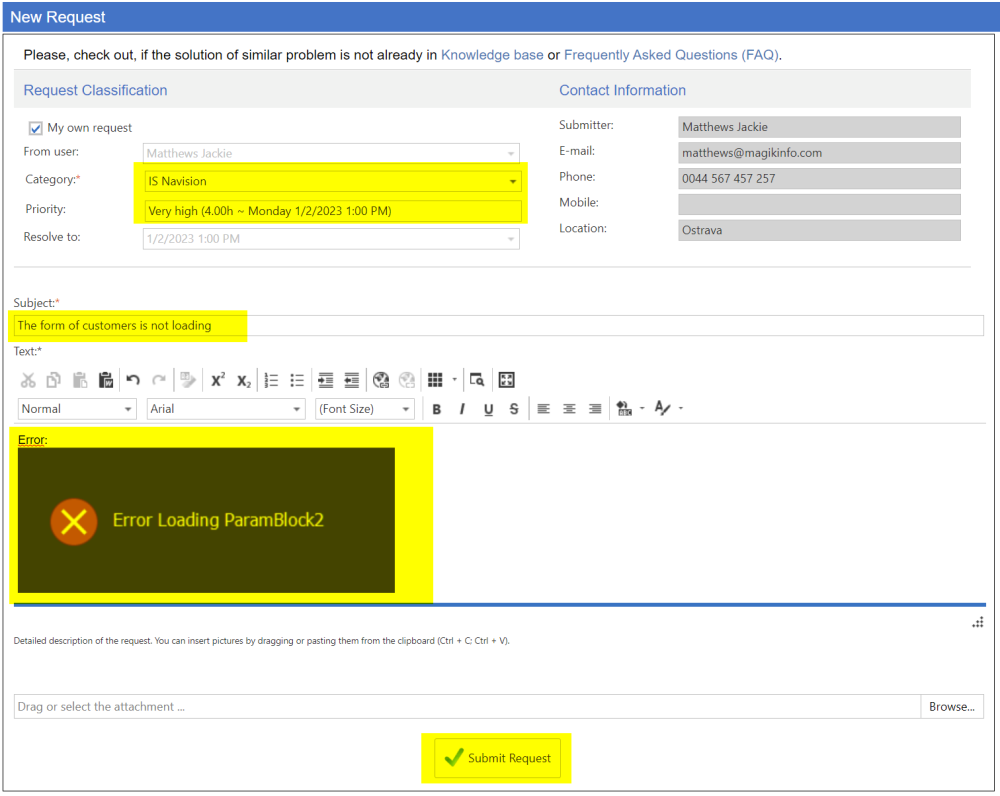
Filling in the form and sending the request most often requires filling in the following fields:
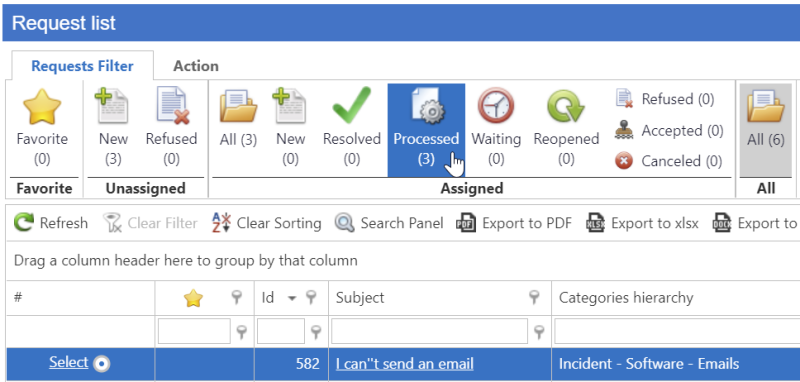
You can view your own requests with the My Requests button in the left drop-down menu or the My Requests link in the top menu.
Displayed requests can be filtered by request status (New, Processing, Resolved, etc.) using the top Ribbon panel on the Requests Filter tab.
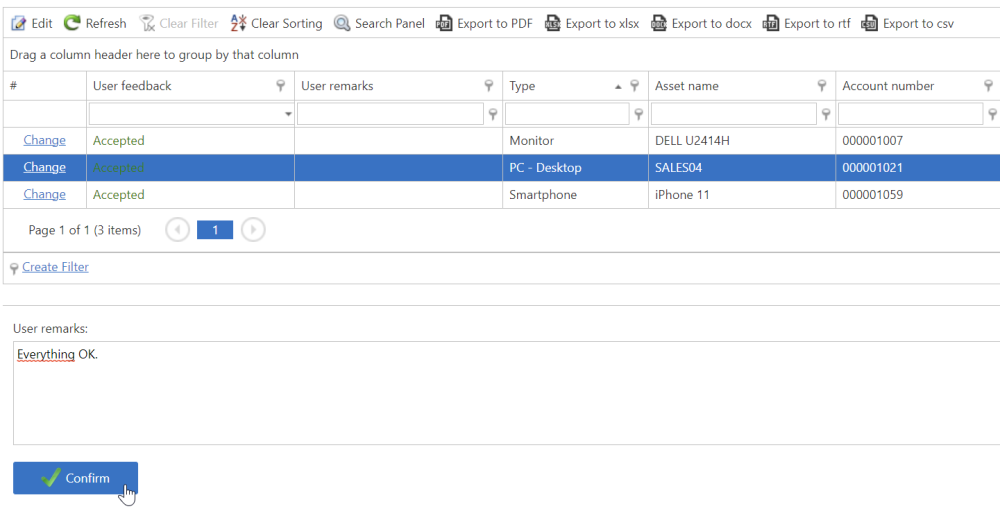
You can also search or use a filter line in the list of requests - see the image below.
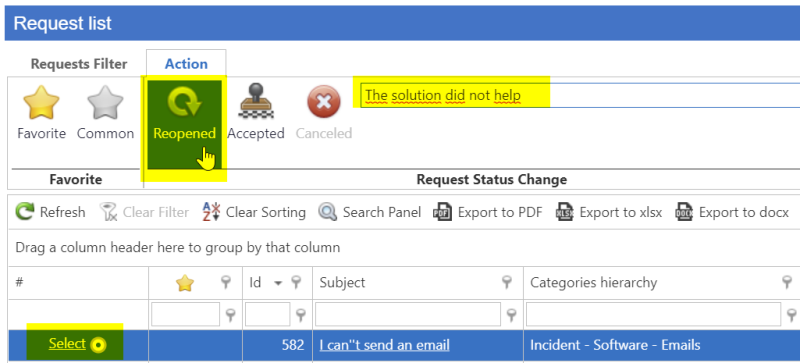
If the settings in your organization allow it, you have the option to:
You can open the Knowledge Base with the Knowledge Base button in the left drop-down menu or the Knowledge Base link in the top menu.
Depending on the settings in the organization, it may contain, for example, already resolved requests that have repeated validity.
Announcements are used to display current information in the organization or, for example, are used to inform users about current failures, exclusions or outages not only in the IT area.
Announcements are also displayed directly on the main portal page - user dashboard.
FAQs show problems or questions that usually occur very frequently in the organization.
This information is (not) displayed depending on your organization's settings.
PC information includes computer identification information, operating system information, installed software, hardware configuration, Windows registry, and MSI base.
Assigned Assets button displays the list of assigned assets in the MagikINFO inventory software.
It is used to quickly find out the status of assigned assets, using a form that contains the assets entrusted to the user.
User can edit the list of assets, add a description or notes and send the feedback.